In summary:
- Swap harsh blue-light LEDs for sleep-preserving red or warm amber lights to protect melatonin production.
- Position motion sensors to create « anticipatory illumination, » lighting up paths before you enter them.
- Design a resilient system with physical switches and local hubs that work even if your Wi-Fi fails.
- For ease of use, prioritize simple « set-and-forget » plug-in sensors over complex app-managed smart bulbs.
- Create gradual lighting transitions between rooms to prevent temporary blindness and disorientation.
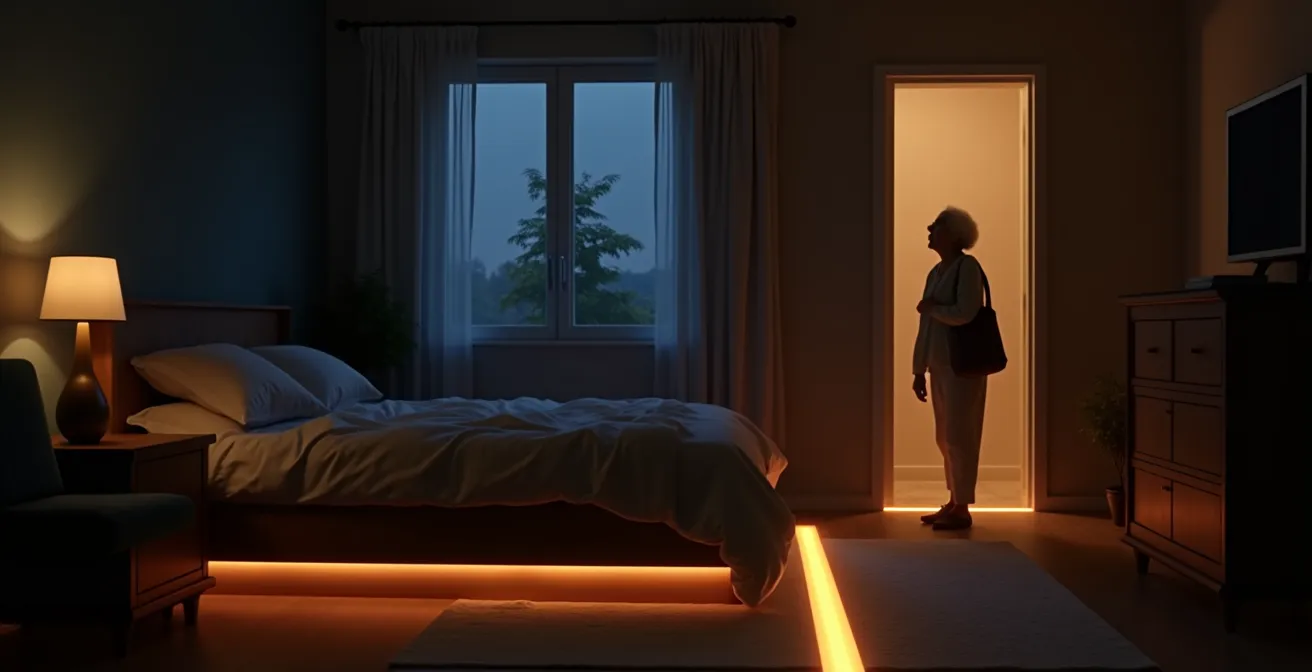
That sudden need to use the bathroom in the middle of the night. It’s a familiar scenario, but for many seniors, it’s a moment fraught with risk. In the disorienting darkness, a simple trip can easily become a dangerous fall. The conventional solution is often to plug in a few bright nightlights, flooding the hallway with a constant, glaring light. Others might dabble with smart home gadgets, only to find them unreliable or too complicated to manage.
This approach, however, often trades one problem for another. The very light intended to provide safety can disrupt sleep patterns, and a system dependent on a perfect Wi-Fi connection is a system waiting to fail. But what if the key wasn’t simply adding more or brighter lights, but designing an intelligent, bio-adaptive lighting ecosystem? A system that works with the human body, not against it, anticipating movement, respecting natural sleep cycles, and providing a reliable safety net, night after night.
This is the work of a smart home safety integrator: to move beyond individual products and engineer a holistic solution. This guide will walk you through the practical principles for building such a system. We will explore everything from the science of light color and its effect on sleep to the strategic placement of sensors and the critical need for failsafe controls. You will learn not just what to install, but how to configure a system that offers true peace of mind.
To help you navigate these advanced safety concepts, this article is structured to build your expertise step-by-step. The following summary outlines the key areas we will cover, from the foundational principles of sleep-safe lighting to the advanced strategies for a fully integrated smart home safety plan.
Summary: A Blueprint for Automated Nighttime Safety
- Why Bright Blue LEDs at Night Are Ruining Your Sleep Quality?
- How to Position Motion Sensors So They Trigger Before You Enter the Room?
- The « Wi-Fi Down » Risk: Why You Still Need Physical Switches
- Smart Bulbs vs Plug-In Sensors: Which Is Easier for Seniors to Manage?
- How to Design a « Runway » Light Path From Bed to Toilet?
- The Lighting Error That Blinds Seniors Moving Between Rooms
- The Oversleeping Trap That Actually Drains Your Battery Instead of Recharging It
- How to Identify and Mitigate Domestic Risks Beyond Falls in a Senior Home?
Why Bright Blue LEDs at Night Are Ruining Your Sleep Quality?
The first mistake in nighttime safety lighting is choosing the wrong color. Many standard LED nightlights emit a cool, blue-toned light. While seemingly bright and effective, this type of light is a powerful suppressor of melatonin, the hormone that regulates our sleep-wake cycle. When your eyes detect blue light, your brain interprets it as daylight and halts melatonin production, making it significantly harder to fall back asleep after a trip to the bathroom. This creates a vicious cycle where the « safety » light itself contributes to sleep fragmentation and next-day fatigue, which in turn increases fall risk.
A truly bio-adaptive lighting system respects your body’s natural rhythms. The solution is to use light from the opposite end of the spectrum: deep red or warm amber. These longer-wavelength colors have a minimal impact on melatonin. A system using gentle red light can provide enough illumination for safe navigation without sending a « wake up » signal to your brain. This preserves sleep quality, allowing you to return to bed and fall back asleep quickly and easily.
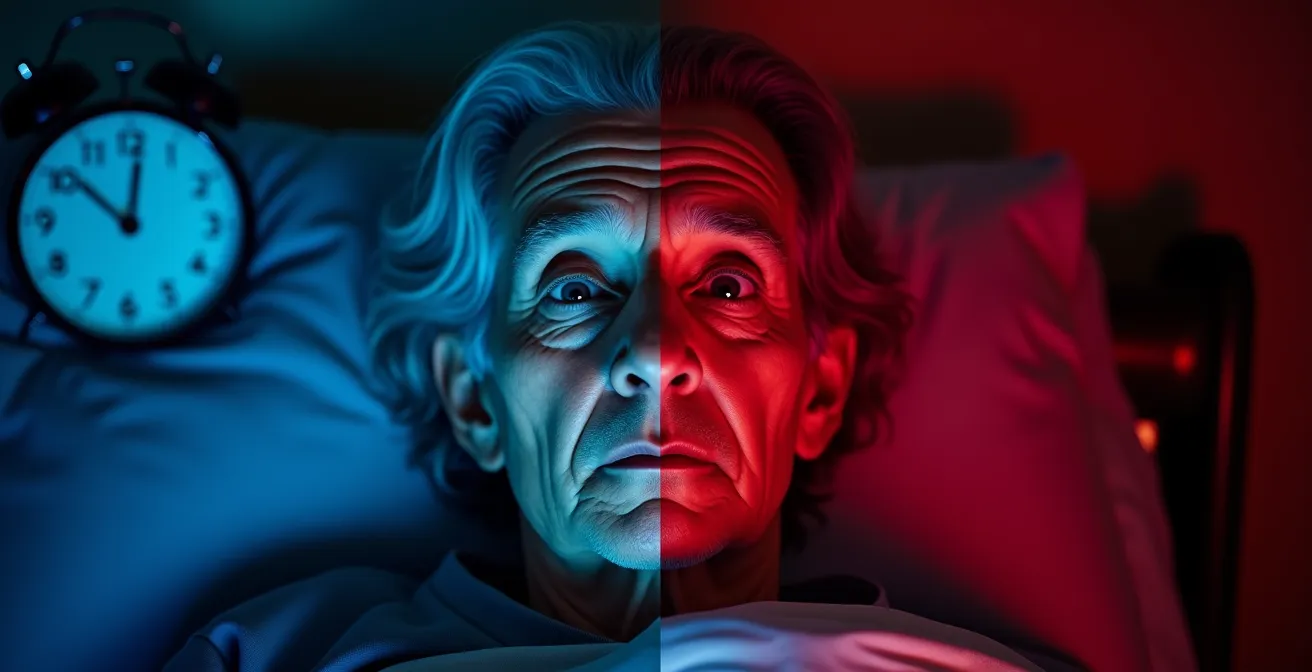
As this comparison illustrates, the goal is not just visibility, but visibility without biological disruption. Implementing red-spectrum LED strips under the bed or along baseboards, set to a very low intensity (around 5 lumens), is an effective strategy. This provides a soft, indirect glow that illuminates the floor without shining directly into your eyes, creating a safe path that protects your precious sleep.
Ultimately, by choosing the right color of light, you transform a simple nightlight from a sleep disruptor into an integral part of a healthy sleep environment, enhancing both safety and well-being.
How to Position Motion Sensors So They Trigger Before You Enter the Room?
Effective automated lighting is not reactive; it’s proactive. The goal is what we call anticipatory illumination: the lights should turn on *before* you need them, not as you fumble for a switch or step into a dark space. This requires strategic sensor placement that creates a seamless chain of triggers from the moment you decide to get out of bed. A single sensor in the middle of a hallway is a flawed approach because it only activates once you are already in the dark and moving.
The key is to create a sequence. The first trigger should be as close to the bed as possible. A pressure mat under the rug beside the bed or a Passive Infrared (PIR) sensor aimed at the floor can detect the moment your feet touch the ground. This first sensor activates a low-level light in the bedroom itself. The next sensor, placed in the bedroom doorway, then triggers the hallway lights as you approach. A final sensor on the bathroom doorframe activates the lights inside. This sequence ensures a lit path is always one step ahead of you.
Case Study: The LifeCircles PACE Sequential Trigger System
LifeCircles PACE, a program for seniors, implemented a « chain of triggers » system with remarkable success. They used a pressure sensor under the bed to activate a bedside light, a PIR sensor at the bedroom door to light the hallway, and a door sensor for the bathroom. This system of anticipatory lighting not only tracked movement patterns to reduce falls but also collected data on bathroom visit frequency, helping caregivers identify potential health issues like UTIs through pattern changes.
Choosing the right sensor technology is also crucial for reliability and avoiding false triggers. Different types of sensors serve different purposes in this chain.
| Sensor Type | Detection Range | Best Location | False Trigger Risk | Installation Difficulty |
|---|---|---|---|---|
| PIR (Passive Infrared) | 15 feet, 110° angle | Bedroom doorway, angled down | Low with pet immunity | Easy – stick-on |
| Microwave Sensor | Through thin doors/walls | Behind bathroom door | High – detects all movement | Moderate – requires wiring |
| Pressure Mat | Direct contact only | Under bed, beside bed | Very low | Easy – place under rug |
| Dual Technology | 15-20 feet combined | Hallway intersections | Very low | Moderate to difficult |
By layering these sensors strategically, you create a responsive and intelligent system that doesn’t just light up a room, but guides you safely along a pre-lit path, eliminating the risk of stepping into darkness.
The « Wi-Fi Down » Risk: Why You Still Need Physical Switches
A smart home is only smart when it works. A common and dangerous oversight in DIY automated lighting systems is an over-reliance on a single point of failure: the Wi-Fi network. If your system depends entirely on a cloud-based app or a Wi-Fi connection to function, what happens during an internet outage or when your router needs a reboot? The answer is simple: your safety system goes dark, leaving you vulnerable precisely when you need it most. This is a significant risk, especially considering that falls are a leading cause of injury for seniors.
In fact, the stakes are incredibly high. According to the CDC, older adult falls result in over 3 million emergency department visits annually. A safety system must be resilient and reliable above all else. This is where a « Hierarchy of Control » becomes essential. This is a layered approach to system design that ensures functionality at multiple levels, from full automation down to a basic manual override. The most robust systems use local communication protocols like Zigbee or Z-Wave, which create a dedicated mesh network between devices. This means your motion sensors can still talk to your lights even if the internet is completely down.
However, technology can still fail. That’s why the next layer of control is a physical smart switch on the wall. Products like Lutron Caseta allow for manual control that overrides the automation, providing a familiar and intuitive interface that works every time. Finally, the ultimate failsafe is the original, traditional light switch, which should be kept functional. This hierarchy ensures that you are never left in the dark. A truly safe system is one that accounts for failure and provides a simple, non-technical backup plan.
Never sacrifice reliability for convenience. By building these layers of control into your automated lighting plan, you create a system that is not only smart but also fundamentally safe and dependable.
Smart Bulbs vs Plug-In Sensors: Which Is Easier for Seniors to Manage?
When implementing an automated lighting system, the choice of hardware significantly impacts its usability. The two most common options are smart bulbs, which have the « smarts » built-in, and plug-in motion sensors, which automate whatever is plugged into them. While smart bulbs offer incredible flexibility in color and brightness, they often come with a hidden cost: a higher cognitive load. They typically require a smartphone app for setup and management, need occasional software updates, and rely on a central hub or Wi-Fi, adding layers of complexity that can be frustrating for users who are not tech-savvy.
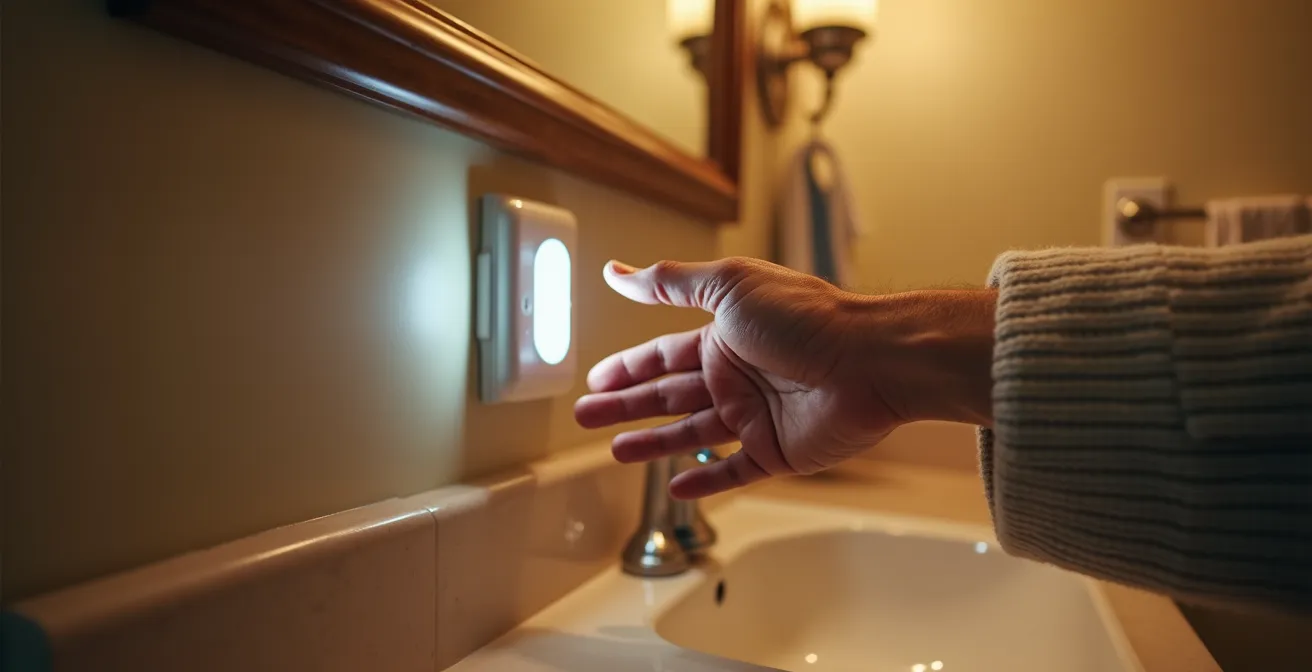
For many seniors, the ideal system is one that is « set and forget. » This is where simple, standalone plug-in motion sensors excel. These devices are incredibly straightforward: you plug one into a wall outlet, plug a standard lamp into it, and it just works. There is no app, no Wi-Fi pairing, and no software to update. Their reliability is nearly 100% because they operate independently. This simplicity is their greatest strength, as it eliminates any need for ongoing management or troubleshooting by the user.
A hybrid approach often provides the best of both worlds. For critical areas like the bathroom, a simple plug-in sensor offers maximum reliability. For ambient paths like hallways, smart LED strips can be used, with the understanding that they will be managed remotely by a caregiver or family member. This dual strategy provides robust, user-independent safety where it’s needed most, while still allowing for the advanced features of a smart system to be used for secondary lighting.
The decision between these technologies ultimately comes down to who will be managing the system. The following table breaks down the trade-offs in terms of user effort.
| Feature | Smart Bulbs | Plug-In Motion Sensors | Hybrid System |
|---|---|---|---|
| Daily Cognitive Load | High – app management, updates | Zero – set and forget | Low – caregiver manages remotely |
| Installation | Simple – screw in bulb | Simple – plug into outlet | Moderate – multiple components |
| Reliability | Depends on hub/WiFi | 100% standalone | Redundant systems |
| Cost | $15-50 per bulb + hub | $10-25 per unit | $100-200 total system |
| Reversibility | Easy – unscrew bulb | Easy – unplug device | Partial – some permanent |
For core safety functions, always prioritize simplicity and reliability over feature-rich complexity. The best safety device is one that works flawlessly in the background without requiring any conscious thought from the user.
How to Design a « Runway » Light Path From Bed to Toilet?
A truly effective nighttime lighting system does more than just illuminate rooms; it creates a clear, intuitive path. Think of it as a personal « runway » guiding you safely from your bed to the bathroom and back again. This concept moves away from single points of light, like a lone lamp, and instead uses a continuous line of low-level, indirect illumination to define the walkway. The goal is to make the safe path so obvious that it requires no thought to follow, even when you are groggy from sleep.
The most practical way to create this runway is with low-voltage LED strips. These can be installed along the baseboards of the hallway or even under the outer edge of the bed frame. When activated by your first motion sensor (e.g., your feet hitting the floor), they cast a soft, downward glow across the floor, clearly marking the path without creating glare. The light should be just bright enough to see obstacles and navigate—around 10-20 lumens is often sufficient. This continuous visual cue is far more effective than a series of disconnected nightlights, which can create pools of light and dark spots that confuse the eye.
Designing this path is a crucial investment in safety, with significant financial implications. The societal cost of falls is staggering; recent CDC research shows non-fatal falls among older adults accounted for $80 billion in healthcare costs in a single year. By engineering a simple, effective runway path, you are mitigating one of the most common and costly risks in a senior’s home. The path should be consistent in color and brightness, ideally using the warm amber or red tones discussed earlier to preserve sleep quality. The system should also include a timer, automatically turning the lights off after a set period of no motion (e.g., 10 minutes) to conserve energy and ensure the bedroom remains dark for sleeping.
This simple yet powerful concept transforms a series of individual lights into a cohesive guidance system, offering an unparalleled level of safety and confidence for nighttime navigation.
The Lighting Error That Blinds Seniors Moving Between Rooms
One of the most overlooked dangers in home lighting is the abrupt change in brightness between spaces. As we age, our pupils react more slowly to changes in light, a process known as ocular adaptation. Moving from a dark bedroom (e.g., 5-10 lumens) directly into a brightly lit bathroom (e.g., 300+ lumens) can cause a moment of temporary blindness and disorientation. This dazzling effect is not just uncomfortable; it’s a serious fall hazard. The eyes need time to adjust, and a system that ignores this biological reality is poorly designed.
The solution is a strategy called Lumen Zoning and gradual illumination. Instead of a single, jarring jump in brightness, the lighting should increase in controlled stages. A well-designed system creates « transition zones » with intermediate light levels. For example, the bedroom night light could be 10 lumens, a small « pre-conditioning » light just inside the hallway could be 40 lumens, and the main bathroom light could be programmed to start at 80 lumens and slowly ramp up to 150 lumens over five seconds. This gives the eyes a chance to adapt comfortably, preventing the blinding glare.
A case study from a senior living facility demonstrated the power of this approach. By implementing strict lumen zoning and gradual brightening, they achieved a 34% reduction in nighttime falls over six months, with residents reporting significantly less disorientation. Dimmable smart bulbs and smart switches are the key tools for creating these seamless transitions.
Your Action Plan: Transition Lighting Setup Protocol
- Measure current light levels in each zone (bedroom, hall, bathroom) using a lux meter app on your phone to establish a baseline.
- Install dimmable smart bulbs or switches in all areas where you will transition between light levels.
- Program a « pre-conditioning » light (e.g., at a doorway) to a low brightness level, like 30%, that activates first.
- Set the main room lights to activate 2-3 seconds after the pre-conditioning light, giving your eyes a moment to adjust.
- Configure all main lights to gradually increase in brightness (ramp up) over a 5-second period instead of turning on instantly at full power.
By engineering these smooth transitions, you are designing a system that works in harmony with the aging eye, enhancing comfort and dramatically reducing the risk of a fall caused by sudden glare.
The Oversleeping Trap That Actually Drains Your Battery Instead of Recharging It
It’s a common misconception that « catching up » on sleep by staying in bed longer is always beneficial. For seniors, however, fragmented or poor-quality sleep, even if it’s long in duration, can be a trap. When nighttime trips to the bathroom repeatedly disrupt deep sleep stages, you can wake up feeling groggy and unrested, a state known as sleep inertia. This « oversleeping » to compensate for poor rest doesn’t recharge your battery; it drains it, leading to daytime fatigue, impaired balance, and slower reaction times. This directly increases the risk of a fall during the day.
The connection between poor sleep and fall risk is well-documented and deeply concerning. In fact, academic research reveals a concerning 41% increase in the fall death rate among older adults between 2012 and 2021. Protecting sleep quality is not a luxury; it’s a critical fall prevention strategy. This brings us back to the importance of a bio-adaptive lighting system. Using harsh, blue-spectrum light at night is one of the primary culprits of sleep fragmentation, jolting the brain awake and making a swift return to sleep difficult.
Conversely, protecting sleep with the right technology yields measurable benefits. A landmark Dutch study demonstrated this by testing automated red-spectrum LED lighting with community-dwelling seniors. The participants using the red light for nighttime navigation not only reported a significant reduction in their fear of falling but also noted major improvements in their overall sleep quality. By allowing safe movement without disrupting melatonin, the system enabled them to return to deep sleep faster. This resulted in better daytime alertness and improved balance, directly addressing the root cause of many falls.
Therefore, investing in a lighting system that prioritizes sleep preservation is one of the most powerful actions you can take. It’s a 24-hour safety strategy that protects you at night and makes you stronger and more stable during the day.
Key takeaways
- The color of night lighting is critical; use deep red or amber light to avoid disrupting melatonin and sleep cycles.
- Effective safety lighting is anticipatory, using a chain of sensors to light a path before you enter it.
- A reliable system must have a « Hierarchy of Control, » including local hubs and physical switches that function without Wi-Fi.
How to Identify and Mitigate Domestic Risks Beyond Falls in a Senior Home?
An intelligent lighting system is the cornerstone of nighttime safety, but the same underlying technology—smart sensors—can be expanded to create a comprehensive safety ecosystem that mitigates a wide range of domestic risks beyond just falls. Once you have a central hub (that works locally without Wi-Fi) and a network of sensors, you have the foundation for a much broader wellness monitoring system. This proactive approach can provide peace of mind to both seniors and their families.
For example, the same motion sensors used for lighting can be configured to monitor patterns of activity. A sudden increase in the frequency of bathroom visits at night, tracked by the system, could be an early indicator of a Urinary Tract Infection (UTI). The system could be programmed to send a discreet notification to a family member or caregiver, prompting a wellness check. Similarly, a lack of detected motion in the morning by a certain time (e.g., 10 AM) could trigger a « wellness alert, » ensuring that help is called quickly in an emergency.
This ecosystem can easily be expanded with other types of sensors. Smart smoke and CO detectors can send alerts to family members’ phones in addition to sounding a local alarm. Water leak sensors placed under sinks and behind toilets can prevent catastrophic water damage by providing instant notifications of a leak. For individuals with dementia, door and window sensors can be used to monitor for wandering, providing a crucial layer of safety. This integrated approach transforms a collection of individual devices into a cohesive, intelligent network that works together to protect the resident’s health and home.
Start by auditing one room in your home this week. Implementing even a single change, like a plug-in motion sensor in the bathroom or swapping a bulb to a warmer color, can be the first step toward building a safer, more independent future. This is not just about technology; it’s about deploying practical tools to maintain dignity and well-being at home.